There’s no one-size-fits-all solution to usability testing labs. The UX team at The Telegraph is Mac-based, which puts Techsmith’s Morae out of the question. Telestream’s Wirecast would be a decent Mac alternative, but it was really unreliable on the MacBooks I tested it on, putting it out of the picture. After some experimentation, I ended up breaking the problem into two parts: (i) recording and (ii) transmission into a viewing room.
For the recording part of the problem, I ended up going for Screenflow, Reflector and an IPEVO Ziggi-HD USB Document Camera. Screenflow serves to record the screen, in-built webcam and audio from any Macbook. It also runs happily alongside Reflector, so we can wirelessly mirror an iOS device on the Macbook while recording with Screenflow (pictured below).
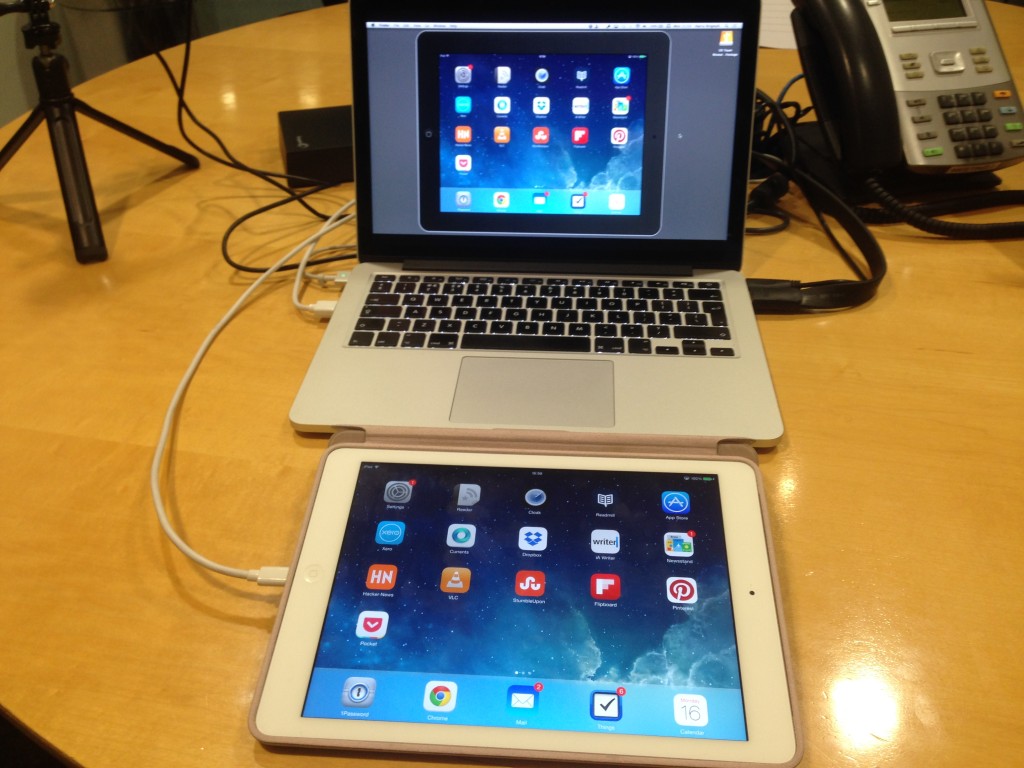
Finally, if we’re testing using a low power device like a Kindle, or if we want to record our participant doing something non-digital (e.g. paper prototypes or sketching exercises) then we can use the Ziggi-HD document camera. It’s basically just a webcam, but it has fixed focus so the camera doesn’t keep refocusing on the participant’s hands as they do stuff. It’s also mounted on an anglepoise-type stand, making it easy to point at your participant’s device. The bundled app displays the camera’s footage on your desktop, so Screenflow can be used to record it along with the Macbook’s inbuilt webcam. I’m probably going to buy a second Ziggi-HD, remove it from the stand and fix it to a Mr Tappy (or a similar rig) which would allow the participant to move the device around as much as they like while always keeping it in frame.
Moving onto the viewing room part of the problem: VNC, logmein and other screen sharing tools aren’t particularly suitable for this as they can be quite flakey and give a fuzzy picture. This is forgivable if your participant is in a remote location, but it’s silly if they’re just down the corridor. Plus, the last thing a researcher wants is to be interrupted mid-session to be told that the viewing room connection has dropped out. Connecting the viewing room directly to the testing room by dedicated cables seemed like the way to go, but I couldn’t find any gaps under doors or dividers that would allow us to do this. In the end I realised that we had a raised floor, so we could actually run the cables underneath the floor tiles. This is a really useful tip – if your office floor has those flapped boxes in the floor then you probably have a raised floor too. We had our buildings managers take up the floor tiles and put long HDMI cables between two meeting rooms, leaving the terminals poking up out of the floor boxes (If it’s a long distance between the rooms, it’s cheaper to use a CAT-5 HDMI extender).
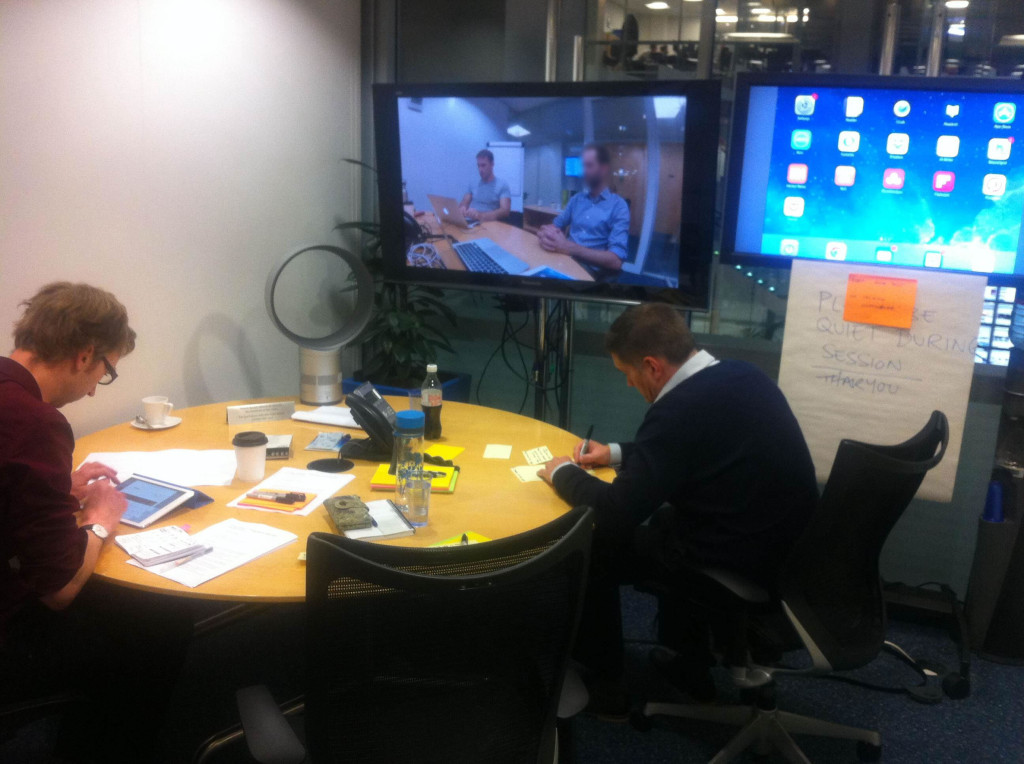
Rather than trying to do picture-in-picture, we just decided to have two TVs in the viewing room (see above). One of the TVs is used to mirror the test macbook’s screen (above right), the other is used to display footage of the participant’s face, and play the audio of the interview (above left). After looking at a few camcorders, I ended up taking a punt and ordering a GoPro 3 Silver.
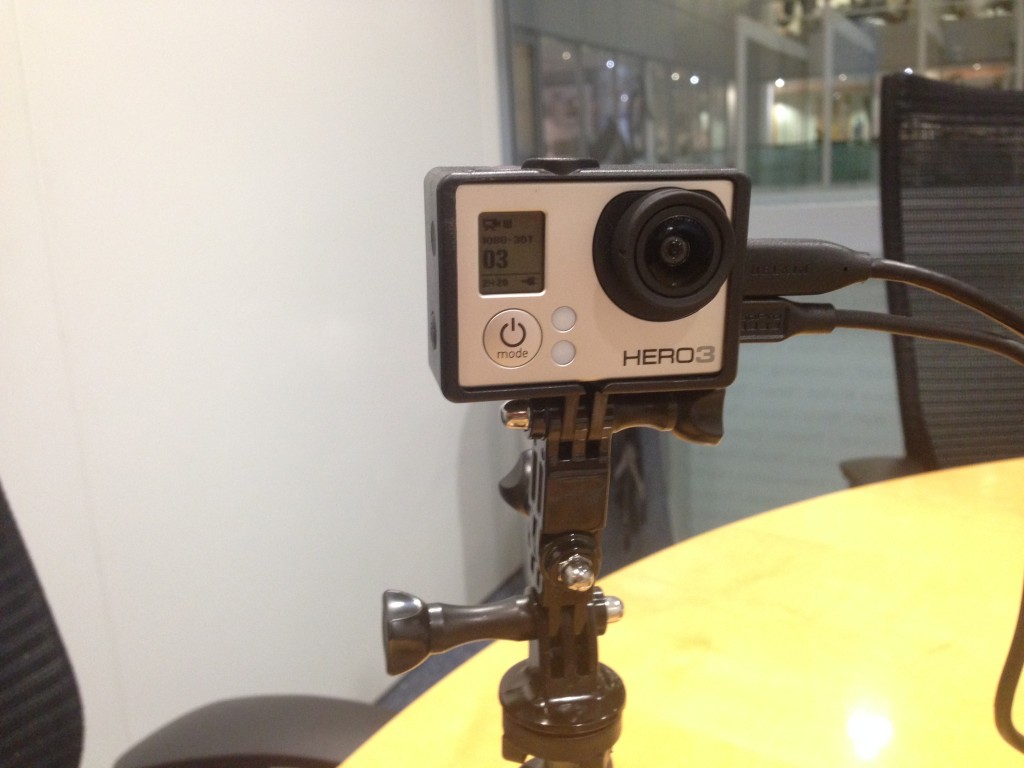
It turned out to be a good choice – the quality of the picture is amazing, and the wide angle lens means you get footage of the user’s head, their torso, the device they’re holding, and even the interviewer. It’s worth being aware that the cool-sounding WiFi feature of the GoPro is rubbish for remote viewing. It’s laggy, blury and it can’t be used as the same time as HDMI-out. I’d advise keeping the WiFi turned off and just connecting the device via the micro HDMI port on the side of the camera. It’s surprisingly awkward to mount a go-pro onto a tripod: you’ll need to buy a tripod mount and a frame, then you’ll need to use a small hacksaw to cut a large enough opening for both the HDMI and USB power cables. Still, it doesn’t look too bad when you’re done and since the camera is so small, participants quickly forget it’s there.
So there you have it: a simple and reliable Mac-based usability testing lab that can be used for desktop, mobile and pretty much anything else you can throw at it.
Interesting that the lab is 100% Mac – I found asking Windows users to do testing on a Mac affected by simple things like clicking with the single button trackpad. I ended up running out and getting a two button mouse to fix that.
Considering how tricky it can be with Windows 8 and having to completely re-learn where everything is hidden now, are they missing out on spotting problems either caused or compounded by the OS?
Hi Harry,
All excellent, particularly reading your experiences with the GoPro and the wide angle lens. I’ll be digging my POV camera out tomorrow.
Thanks,
Walt
I lead the UX team at an agency in Manchester, and am going to be faced with the same challenge when we move to a new office at some point over the next year or so.
Currently we have a slightly held-together-with-tape solution using Silverback and an IP camera, both connected over ethernet to a viewing room at the other end of the office. As a solution it works, but it’s… OKish. We’ve been lucky that the network has never died during a session.
When I get to plan in a better solution I’ll be coming back to this article – thanks.
Graham – I think that you should test on whatever your user uses. If they’re a Mac user, they should get a Mac; if they’re a Windows user, they should use Windows. If you’re testing a web app, I would still do it on whichever OS the user uses, and also make sure that their web browser of choice is also available (if possible). With a Mac-only setup, you could install a virtualization application like VMware Fusion or Parallels Desktop to provide a Windows environment while still using the Mac for recording.